My first Constellation DX component
This knowledge sharing article shares my first experience in creating a new DX component and configuring it in a Pega Constellation application using App Studio. This article shows the end-to-end process of creating and using a new DX component in a Pega Constellation application that a PSA/LSA or a senior-level Pega system architect should understand and be able to advise clients accordingly. This doesn't intend to go in-depth about React.
Best practice: In order to maximize time-to-value and minimize ongoing code maintenance, it is a best practice to implement UI requirement first using out-of-the-box Pega Constellation templates and patterns to achieve desired business outcomes. Custom solutions such as a DX component should be pursued only when a requirement can't be met with OOTB capabilities. It is important to recognize that each DX component created becomes a technical debt for customers to manage.
Pega Infinity version used: 25.1.1
Configurations
Step 1 - Set up a new development environment and initialize a product.
Follow this Pega doc article to install necessary software and initialize a new project for DX component.
Attached a working tasks.config.json file for your reference. I used this file for implementing my first DX component.
Step 2 - Open Visual Studio Code and navigate to the newly created project folder.
Here is my example:
This is where we will write, edit, and debug React code for DX component and publish it to Pega Infinity for use.
Note: Visual Studio Code (VS Code) is a free, open-source code editor developed by Microsoft.
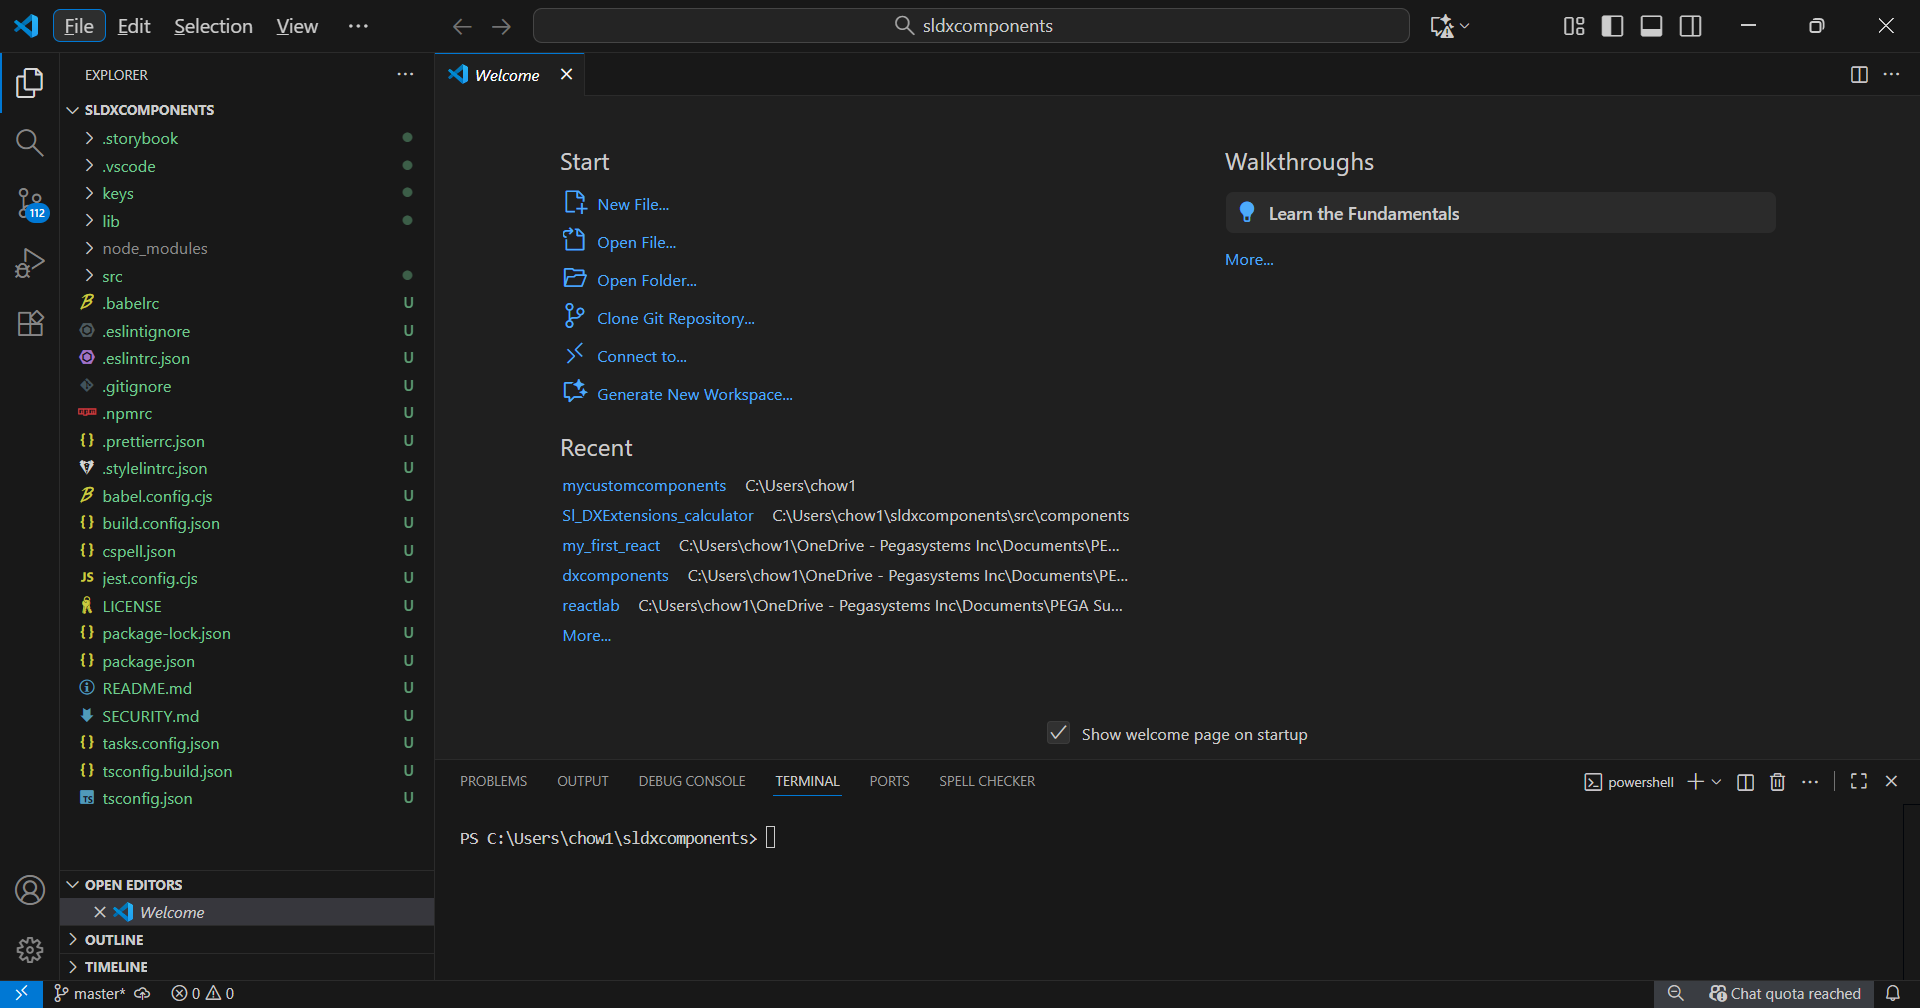
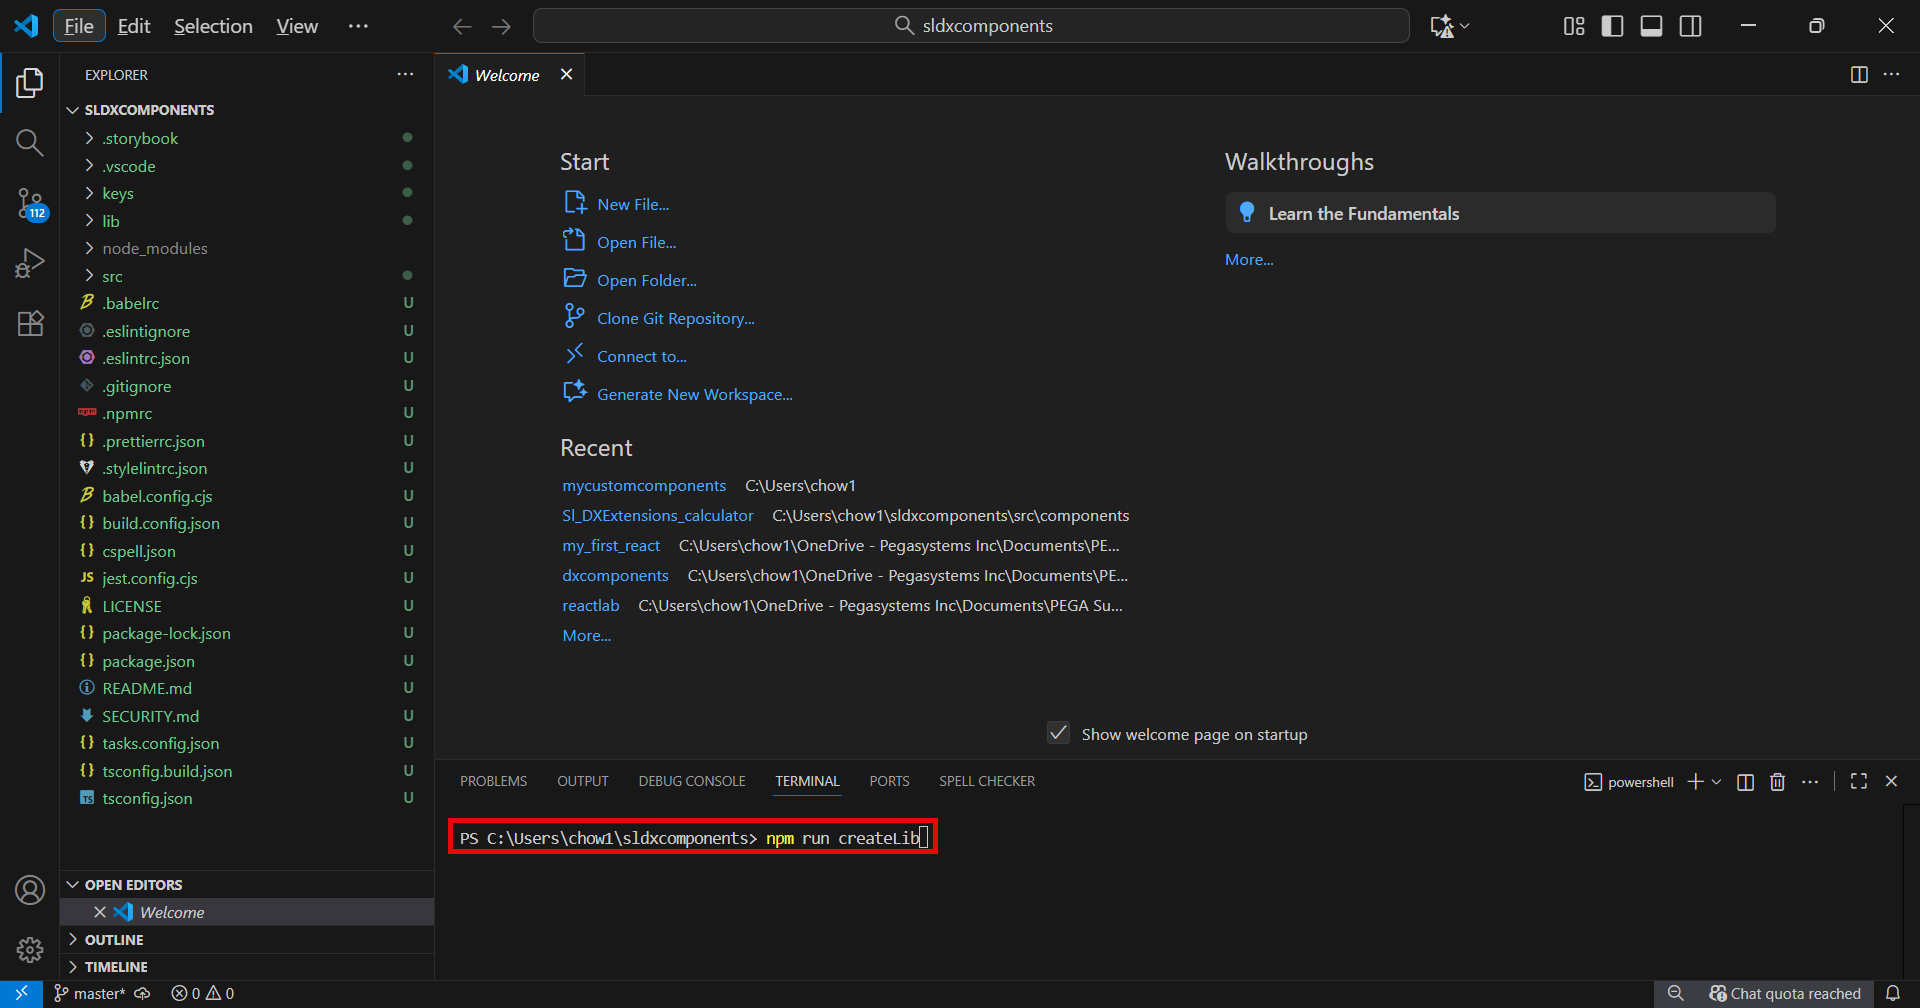
Step 3 - Open a new Terminal and create a new library.
Run the following command to create a new library and version (which are mandatory before creating a new DX component). Follow the prompts to completion.
npm run createLib
Step 4 - Create a new DX component.
Run the following command in Visual Studio Code > Terminal and follow the prompts to completion.
npm run create

In my example, I created a Widget component.
Step 5 - Write React code to develop a new DX component.
This is where a front-end React developer will write the necessary code to implement a new DX component. 'How to write React code' is beyond the scope of this knowledge sharing article.
In this example, I created a Calculator.jsx file which has the necessary React code to implement a simple calculator component. The JSX file is attached for your reference.
In addition, I modified the index.tsx file to include the Calculator component so that it will be rendered and function in UI.
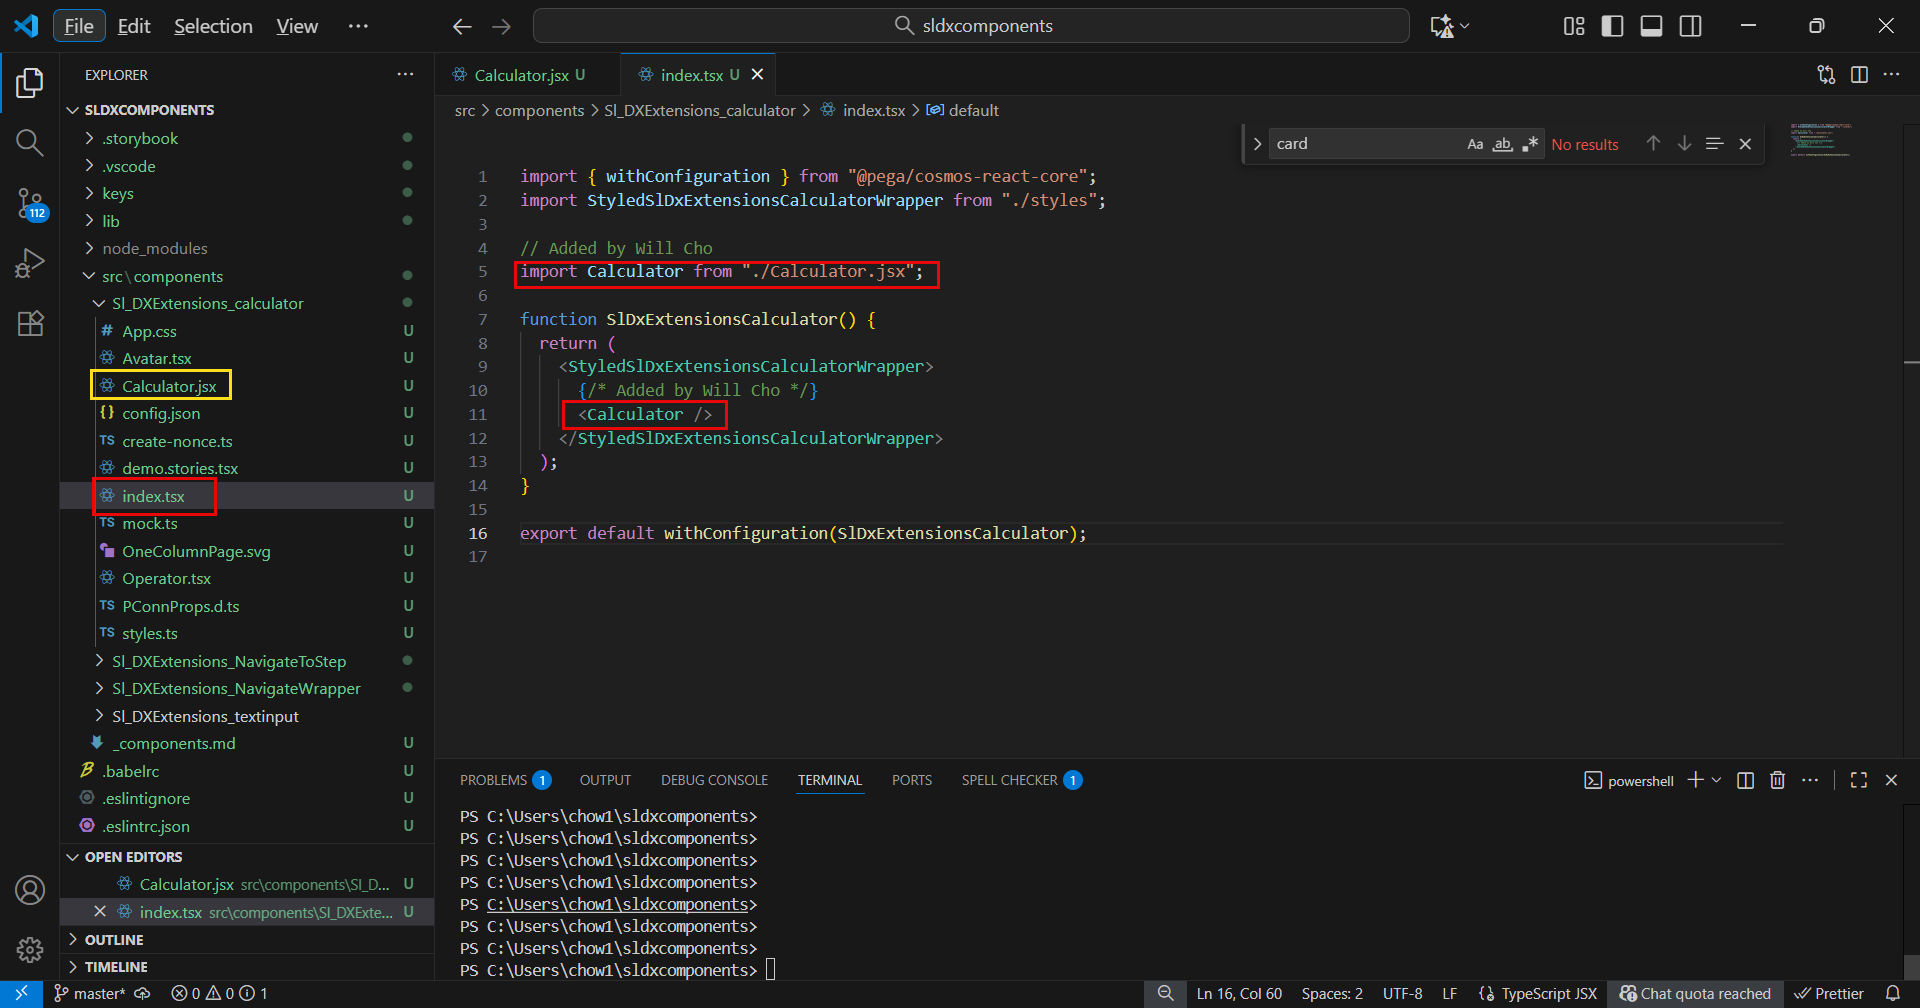
import { withConfiguration } from "@pega/cosmos-react-core";
import StyledSlDxExtensionsCalculatorWrapper from "./styles";

// Added by Will Cho
import Calculator from "./Calculator.jsx";

function SlDxExtensionsCalculator() {
  return (
    <StyledSlDxExtensionsCalculatorWrapper>
      {/* Added by Will Cho */}
      <Calculator />
    </StyledSlDxExtensionsCalculatorWrapper>
  );
}

export default withConfiguration(SlDxExtensionsCalculator);
Step 6 - Test the DX component using Storybook.
Storybook is used to test DX components during development and before publishing it to Pega Infinity.
Run the following command and the Storybook should launch in a web browser.
npm run startStorybook
Here is how the calculator DX component looks so far.
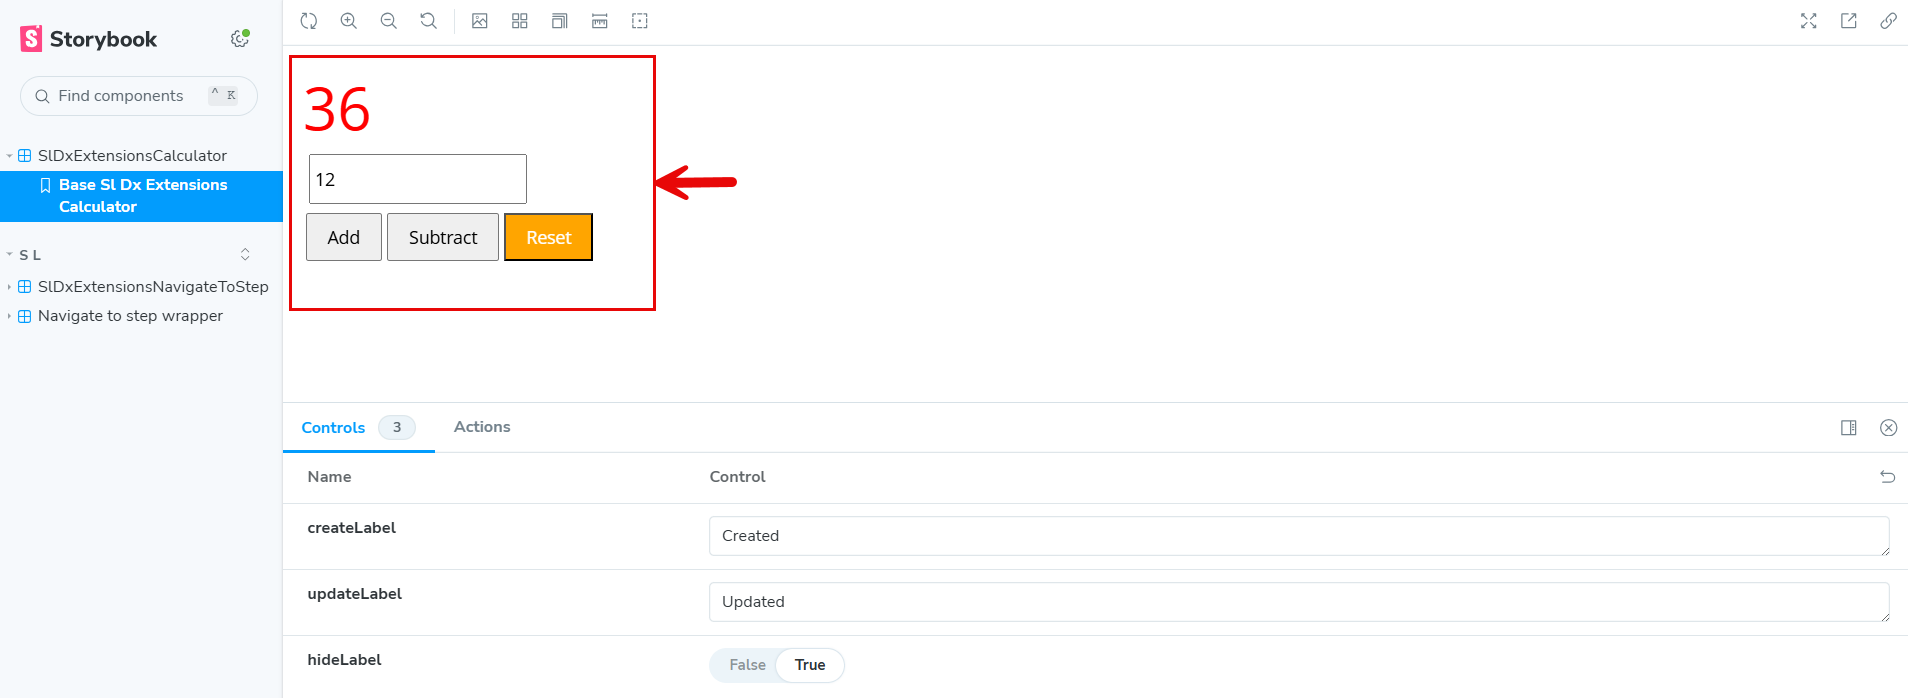
If everything looks and works as desired, then we're ready to publish it to Pega Infinity.
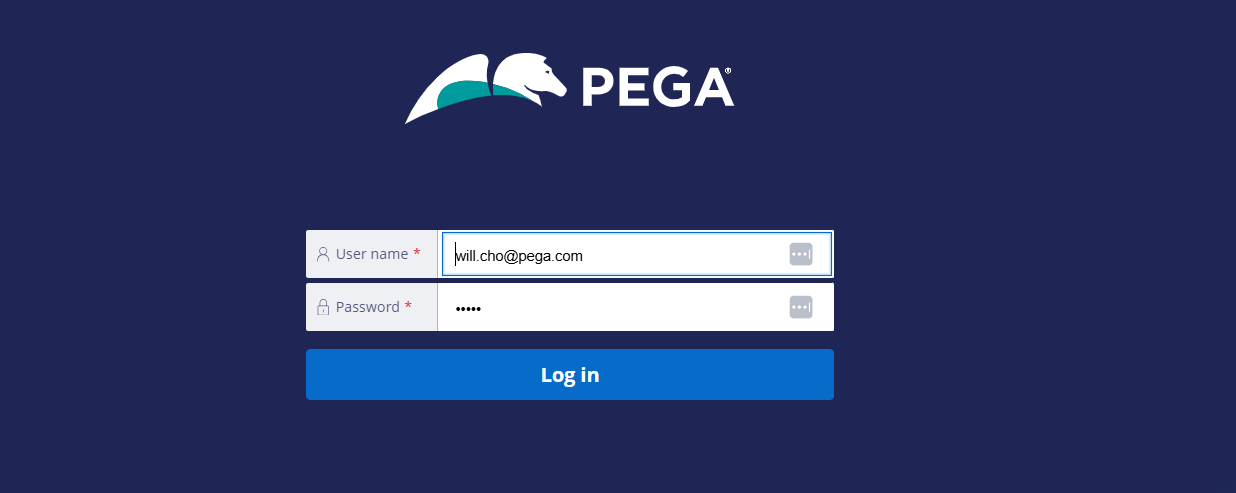
Step 7 - Authenticate to Pega Infinity
The authentication is required before publishing DX component to Pega Infinity.
Run the following command in the Visual Studio Code > Terminal.
npm run authenticate
The command should launch Pega Login UI in a web browser. Login with a valid credential.
Once the login is successful, you will see the following screen with a successful message.
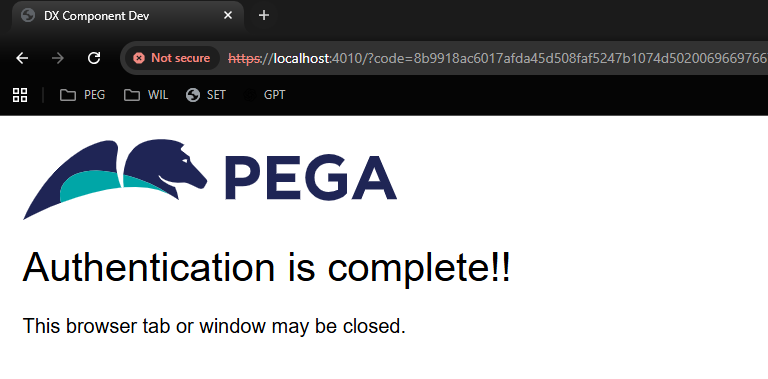
You will see a successful message in the terminal as well.

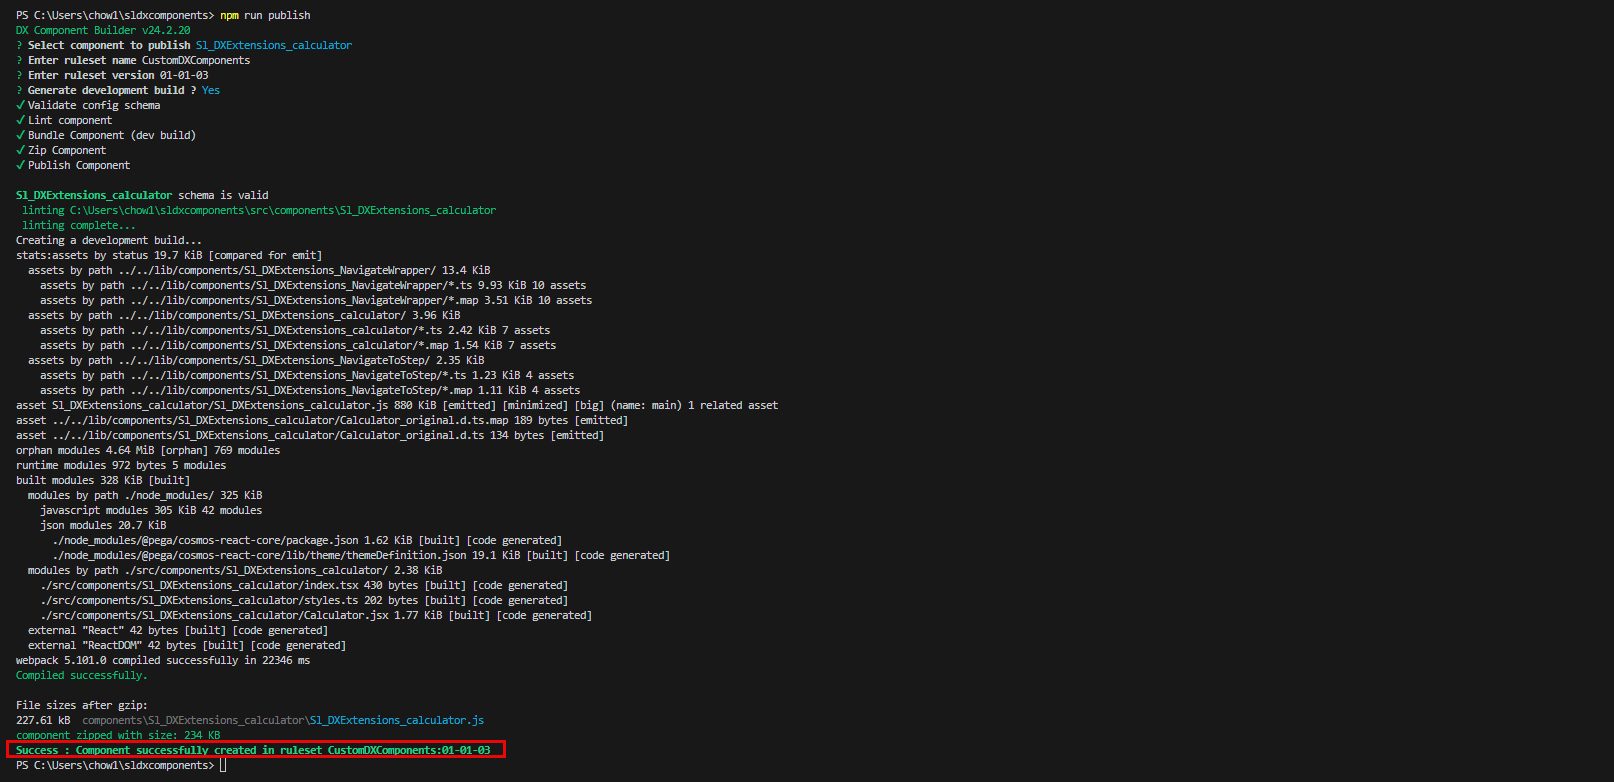
Step 8 - Publish the DX component to Pega Infinity.
Run the following command in Visual Studio Code > Terminal and follow the prompts to completion.
npm run publish
Upon a successful publish, you will see a successful message in the terminal, which also shows the ruleset name/version where the DX component is published to Pega Infinity.
- Note: During the ‘Lint component’ step, I received a bunch of compilation errors. Because I was new to React, I utilized the Chat tool in Visual Studio Code and Microsoft Copilot to fix them. The GenAI features were very useful.
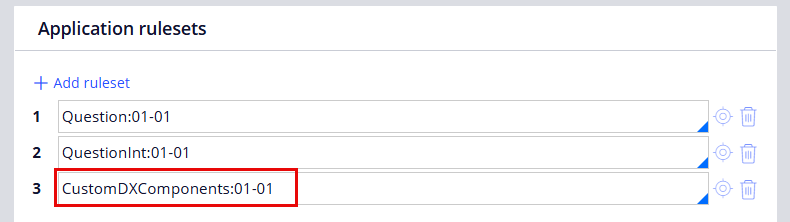
Step 9 - Login to Pega Infinity and verify that the corresponding DX component rules are created in the ruleset.

The DX component ruleset should be included in the Pega application rule.
Step 9 - Go to App Studio and add the new DX component to the Work Portal.
In my example, I added the new DX component to a landing page of the Work Portal.
In App Studio, go to Channels > open the Work Portal > add a new 'Calculator' landing page.
In the Edit landing page: Calculator, click +Add under Region A > select the Widgets category > select the 'calculator' widget.
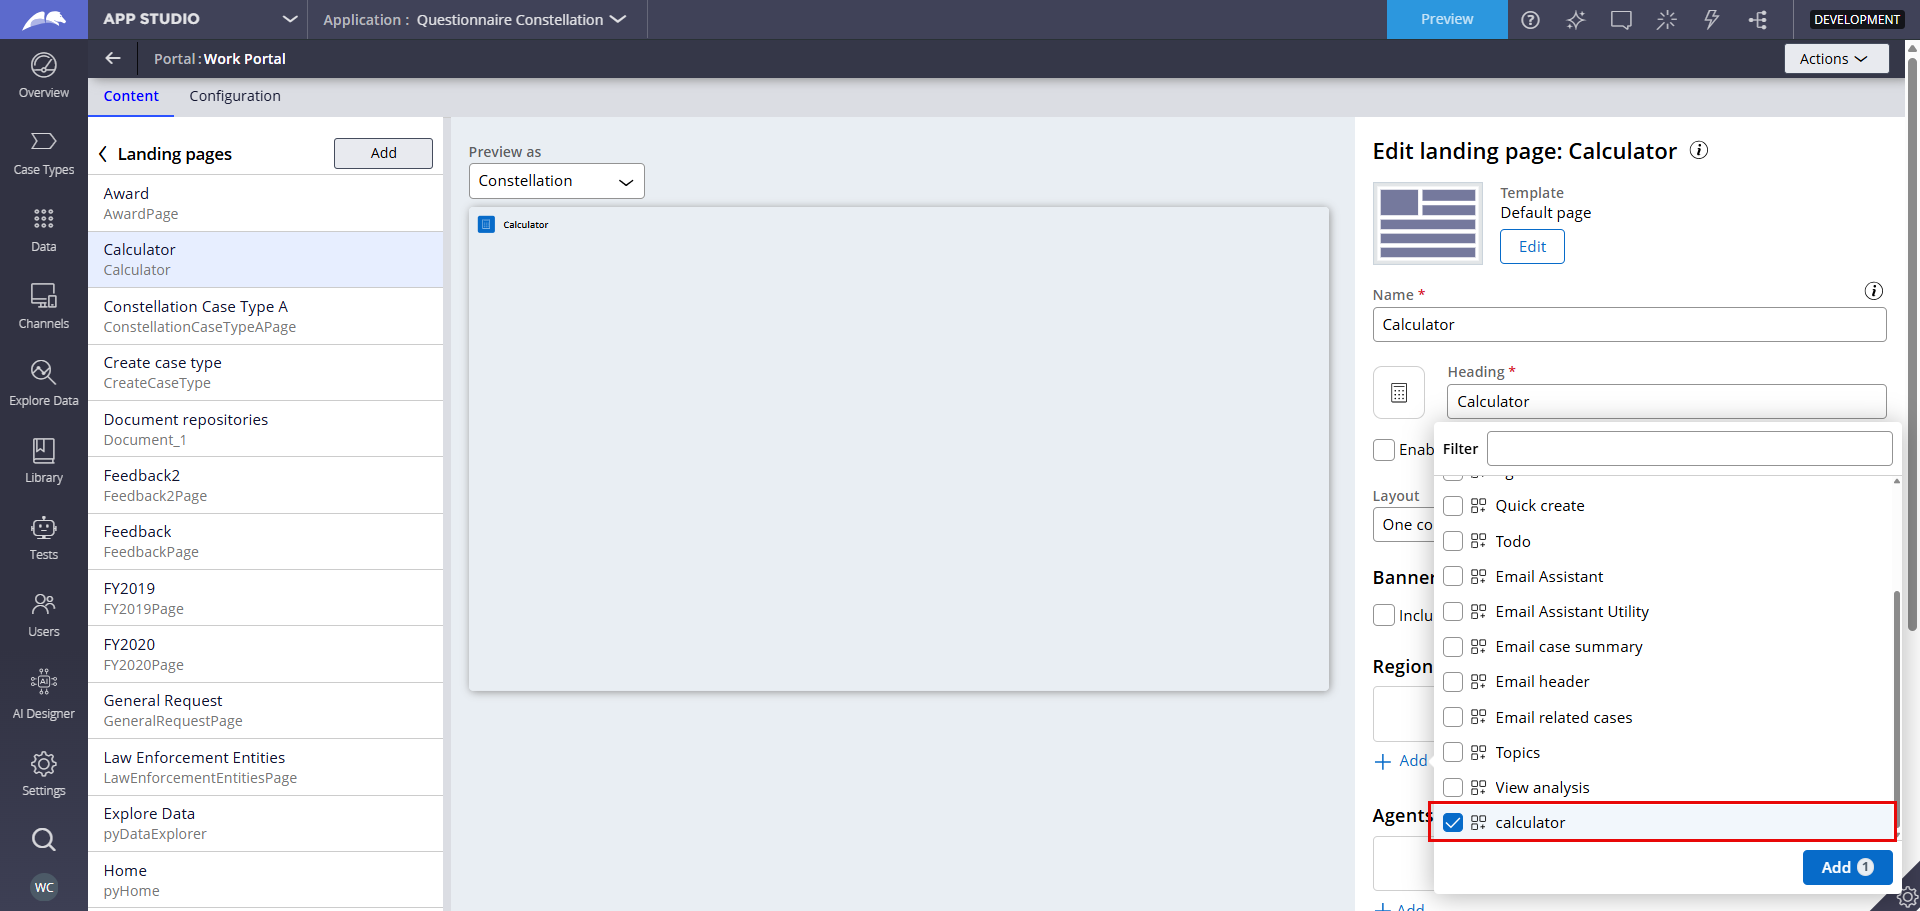
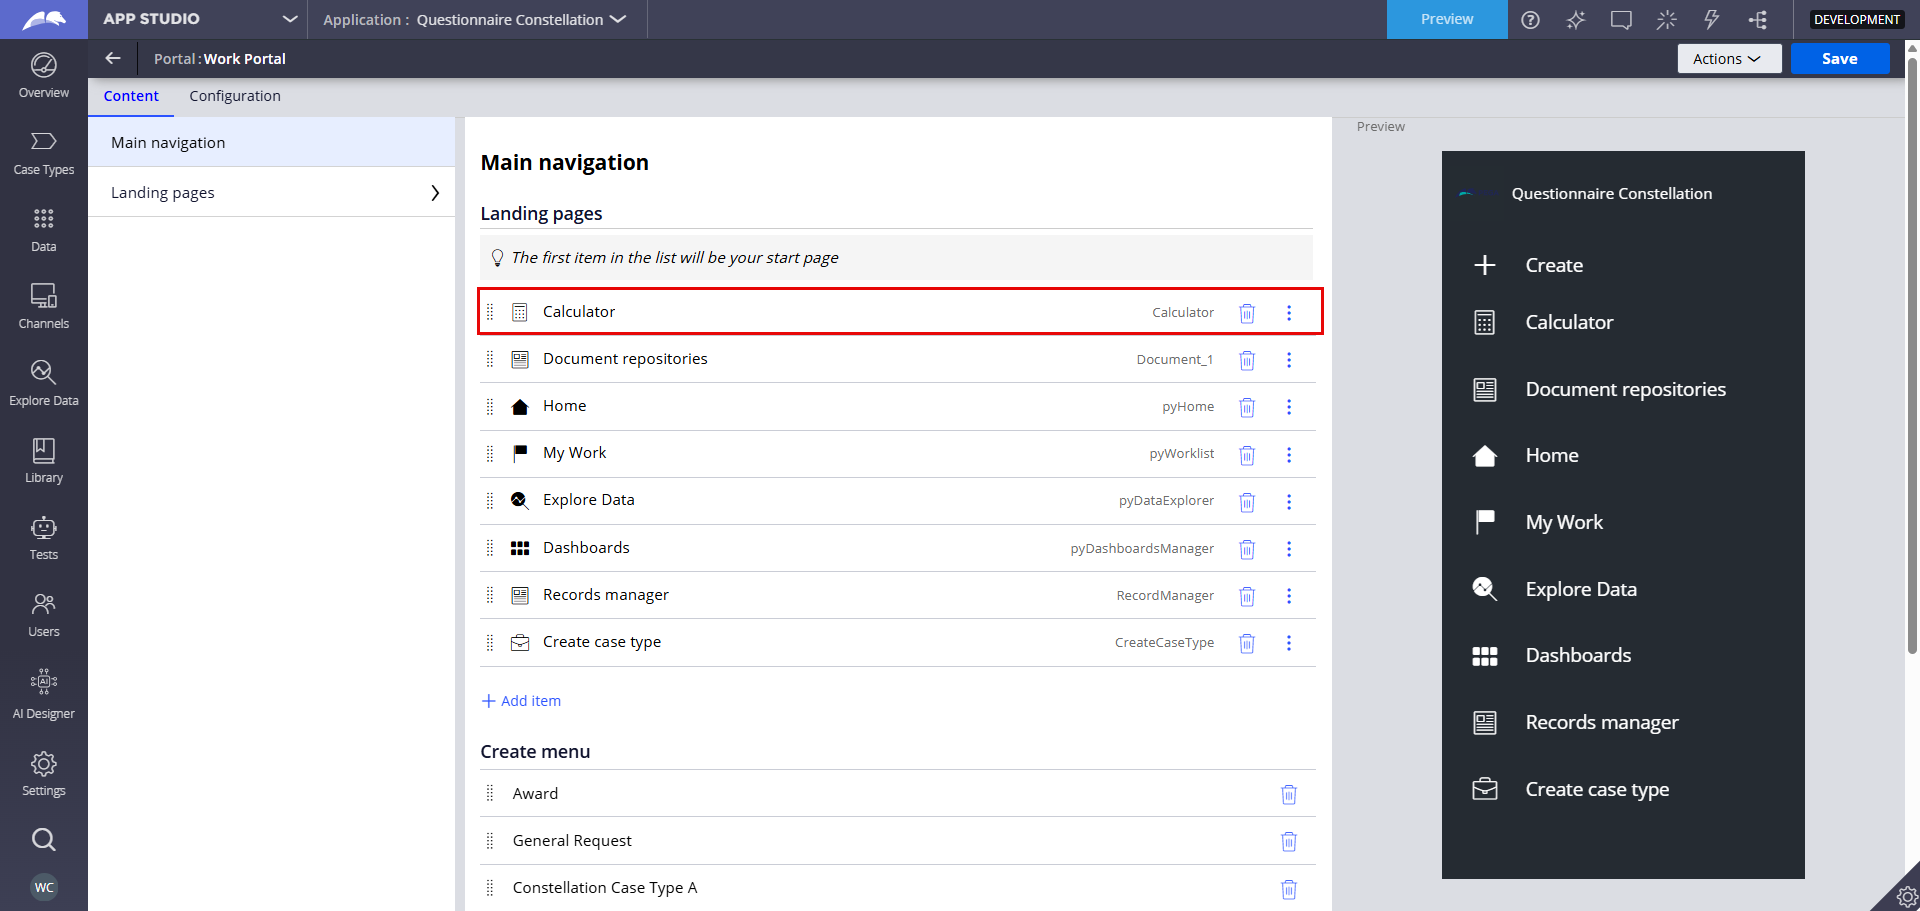
Add the Calculator landing page to the Main navigation.
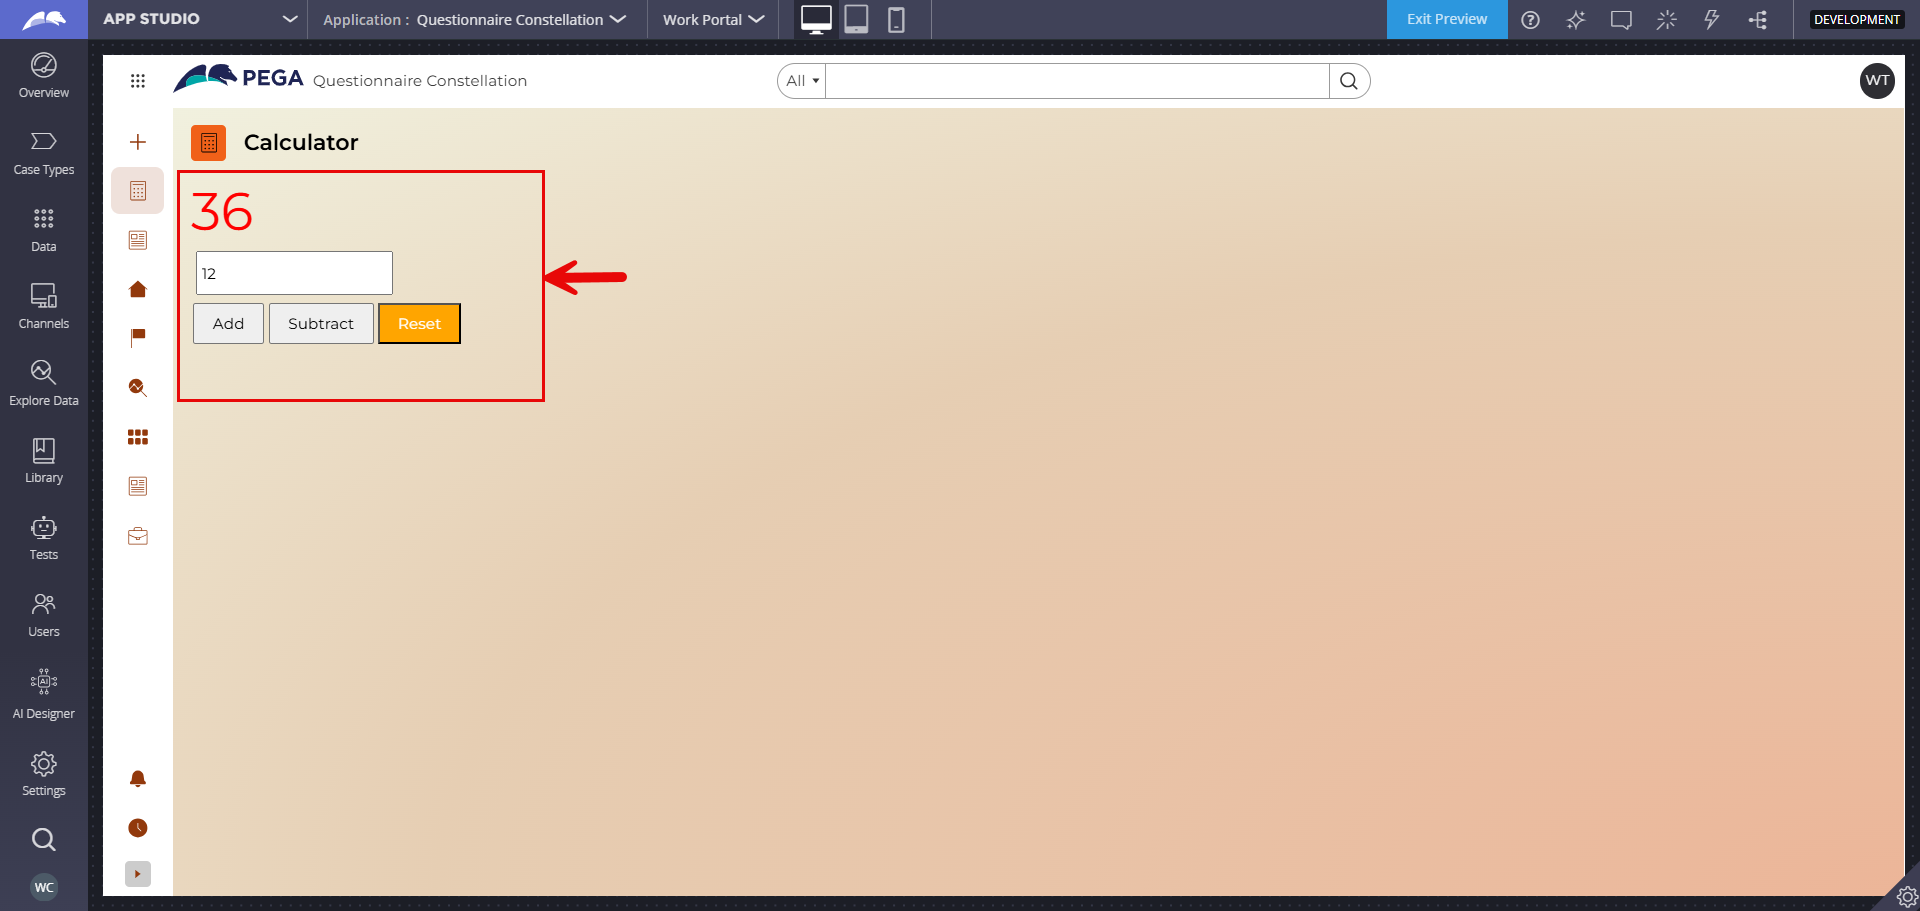
Step 10 - Run the preview and validate.
Note: After publishing the DX component, I had to clear the browser cache and refresh the browser to see the changes.
Additional information
- This was my first experience in React and creating a Constellation DX component. I'll share more information in coming months as I gain more experience and become more proficient in Constellation DX components.
- Recommended Pega Academy training course: Constellation DX Components Mission
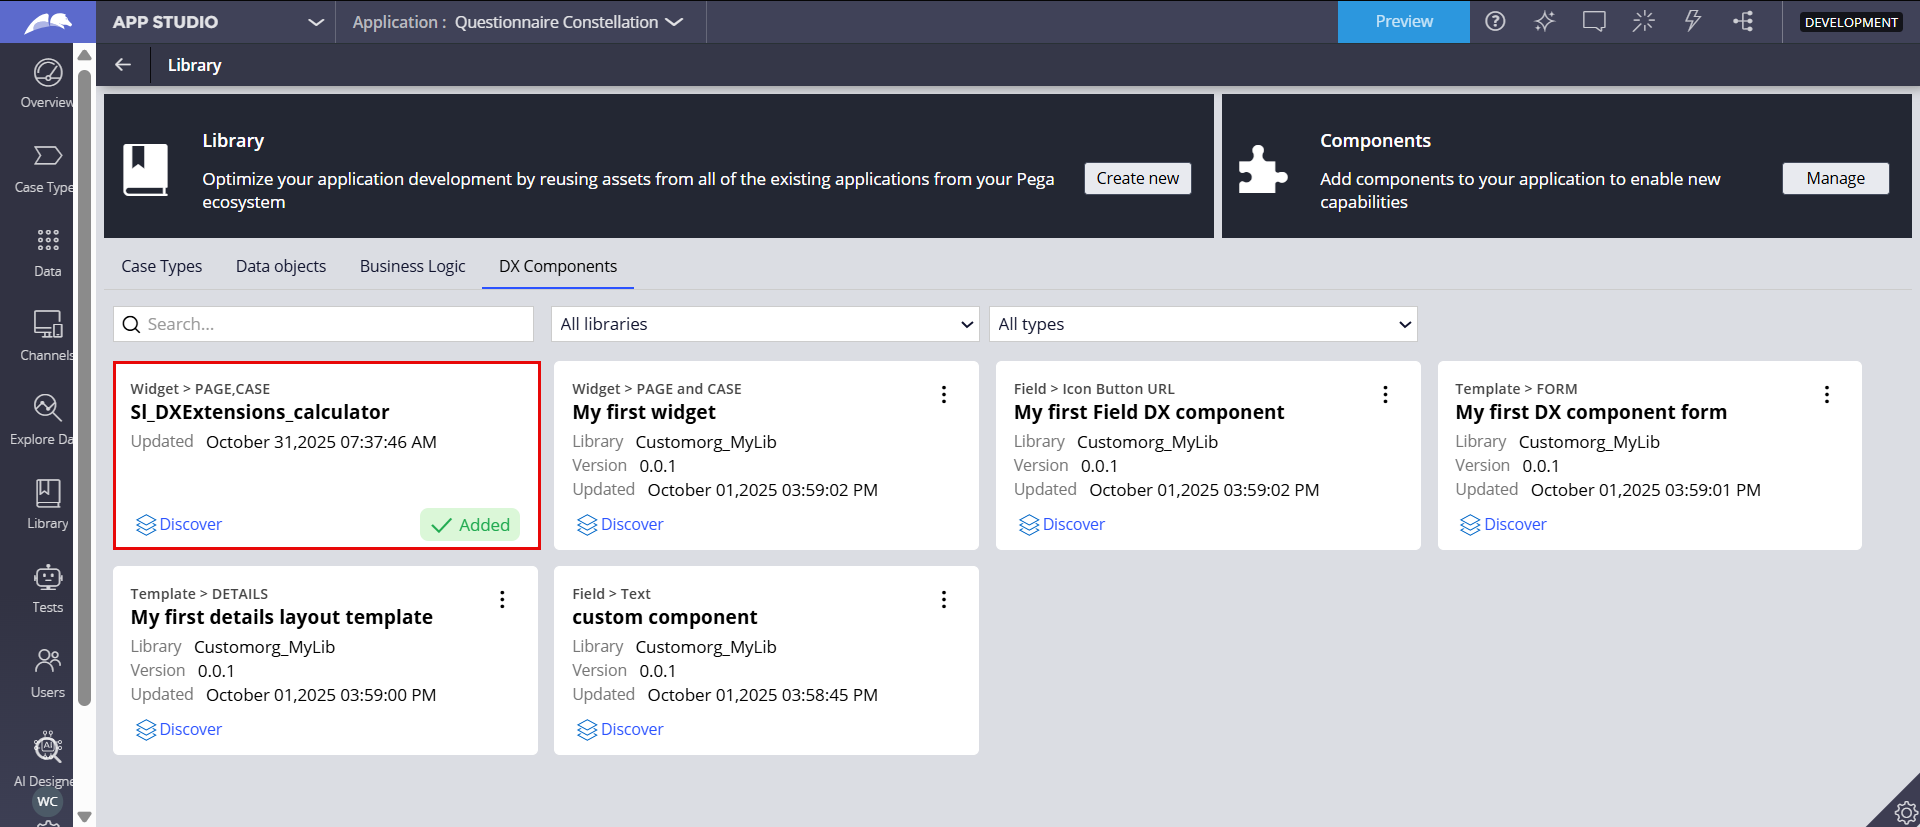
- In App Studio > Library > DX Components, we can also see the new DX component that we just published.
Please leave any feedback or question.
Pegasystems Inc.
US
@VenkateswararaoKThanks - attached config.json file to the posting as well.
Capgemini
FR
@Will Cho Thanks for sharing, i was able to publish the component into Pega, i can see the rule-component, but it's not visible from App studio, in addition the Tab "DX Components" is not visible in Library menu in Pega. Any ideas ?
Updated: 3 Nov 2025 9:32 EST
Pegasystems Inc.
US
@AhmedAttia i would log off, clear the cache (both client and server side), and log back in to check. Also, which Pega Infinity version are you using? (i used 25.1.1 for this exercise)
Capgemini
FR
@Will Cho I was trying to implement the same with Pega 24.2, the library concept does not exist yet on that version. It is working for 25.1.1 thank you