Question
Pegasystems Inc.
US
Last activity: 29 Jun 2016 11:37 EDT
How do you build the JMS environment when the PRPC Cluster is built with multiple WebSphere Cells?
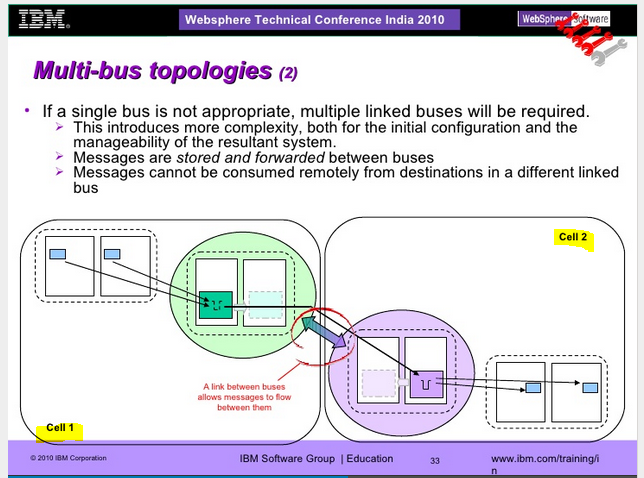
The install document describes how to setup the JMS environment in a single cell. It is not clear how to construct the JMS environment to span cells. The production environment has two cells managing each PRPC system. This will grow to a four cell environment.
Here are the steps
1. Create a Service Integration Bus (SIB) named ADM Bus.
2. Add the bus members corresponding to the nodes running ADM and Pega 7. In the step for improving the
messaging performance, it is advisable to accept the default settings for the JVM heap size.
3. Create a new destination with the specifications listed below and save the changes to the master configuration.
• Destination type: queue space
• Identifier: ADMDestination
4. Go to the JMS providers facilities and select the messaging provider using the same scope as the SIB. In
Additional Properties, select Queue Connection Factories, add a new connection factory using the specifications
listed below and save the changes to the master configuration.
• Name: ADM Request Connection Factory
• JNDI name: jms/admRequestConnectionFactory
• Bus name: ADM Bus
• Durable subscription home: it should point to the host that is member of the bus in a single server installation,
or one member of the bus in a cluster installation.
5. Back in the JMS provider, select the link to create a queue under Additional Properties, add a queue using the
specifications listed below and save the changes to the master configuration.
• Name: ADM Queue
• JNDI name: jms/admRequestDestination
• Bus name: ADM Bus
• Queue space name: ADMDestination
6. Still in the JMS provider, add a new activation specification using the details listed below and save the changes to
the master configuration.
• Name: ADM Activation Specification
• JNDI name: jms/admActivationSpecification
• Destination type: queue
• Destination JNDI name: jms/admRequestDestination
• Bus name: ADM Bus


