Discussion
Pegasystems Inc.
JP
Last activity: 25 Jan 2026 3:24 EST
How to change the key in Data Type
Hi,
Sometimes database table design is changed for many reasons and developers may need to change the key defined in Data Type. If change is immediately after Data Type is created, you may simply delete all the rules generated and define Data Type from scratch again. However, what if you are asked to change the key a while after Data Type is defined, and all the rules are already locked in the old RSV? Actually, whether the rule is locked or not does not matter for changing the key. In this post, I will share the detailed steps.
- Understanding "Key"
Primary key, or just "key" is defined at two levels - one for Pega level, and one for DBMS level. The key in each level can be different - for example, for Work- derived class, "pyID" is used for the default key in Pega while primary key in DBMS is "pzInsKey". For Blob table, regardless of which class it's derived from (Work- or Data-), "pzInsKey" is used as a primary key at DBMS level. Since starting from Pega 7.4 CustomerData is adopted for Data Type's default database (https://collaborate.pega.com/discussion/customerdata-non-blob-vs-pegadata-blob), the out-of-the-box table that is generated by Data Type is Non-Blob. That means not only "pzPVStream" but "pzInsKey" does not exist as well. Whatever custom property you specify as a key in Data Type is configured as a Primary key in the DBMS as below. In this example, I have set MacAddress property as a key.

If you look at the physical table in DBMS, Primary key is configured on macaddress automatically.

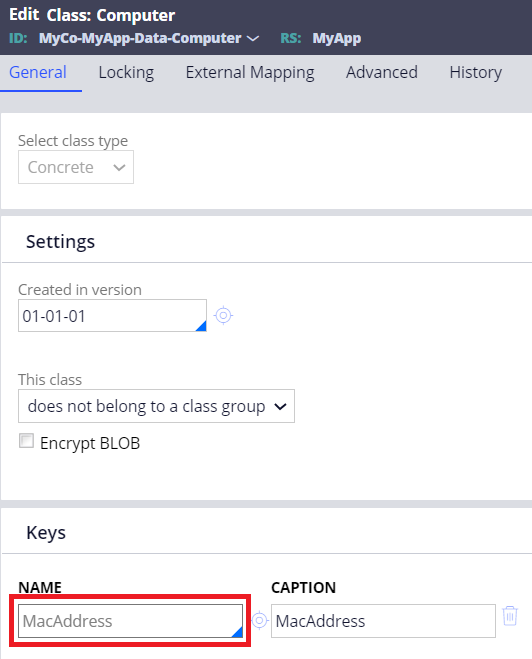
In Pega level, the key MacAddress is found at class form. Be noted that the key field is grayed-out, and this is because the table is already populated. The key is not editable when the table has records.
- How to change the key
Let's say, RSV is locked and requirement is changed - you are asked to change the key from MacAddress to SerialNo. Now all the rules are locked, but can we achieve this without modifying rules? Yes, we can. Here are the steps.
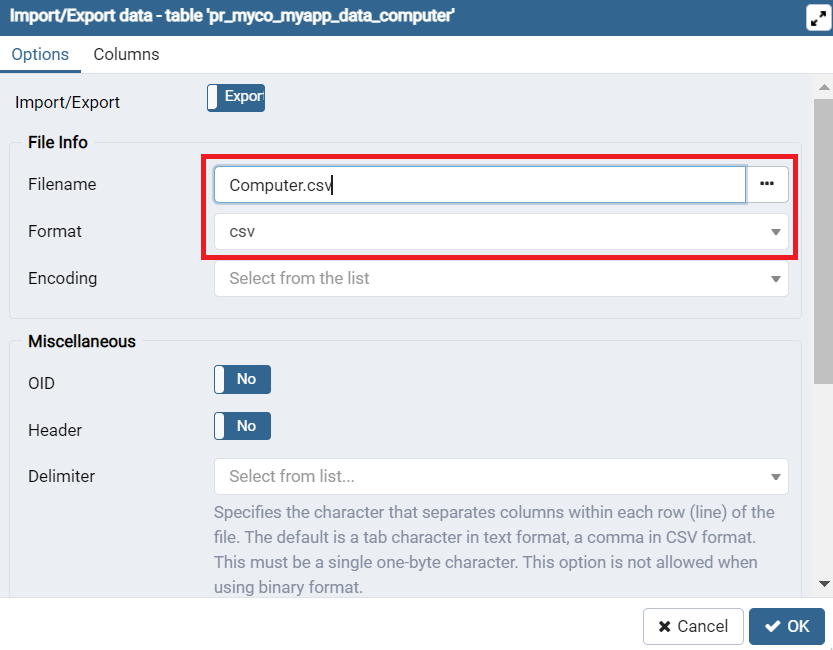
1. As explained, key in Pega is not editable in class form as long as the physical table has records. So, the first step is to truncate the table. If table contains a lot of important records, you may want to get backup manually. Here, I used pgAdmin tool to export all the records into a CSV file.

2. In the dialog, specify Filename and Format for exporting. Click OK.
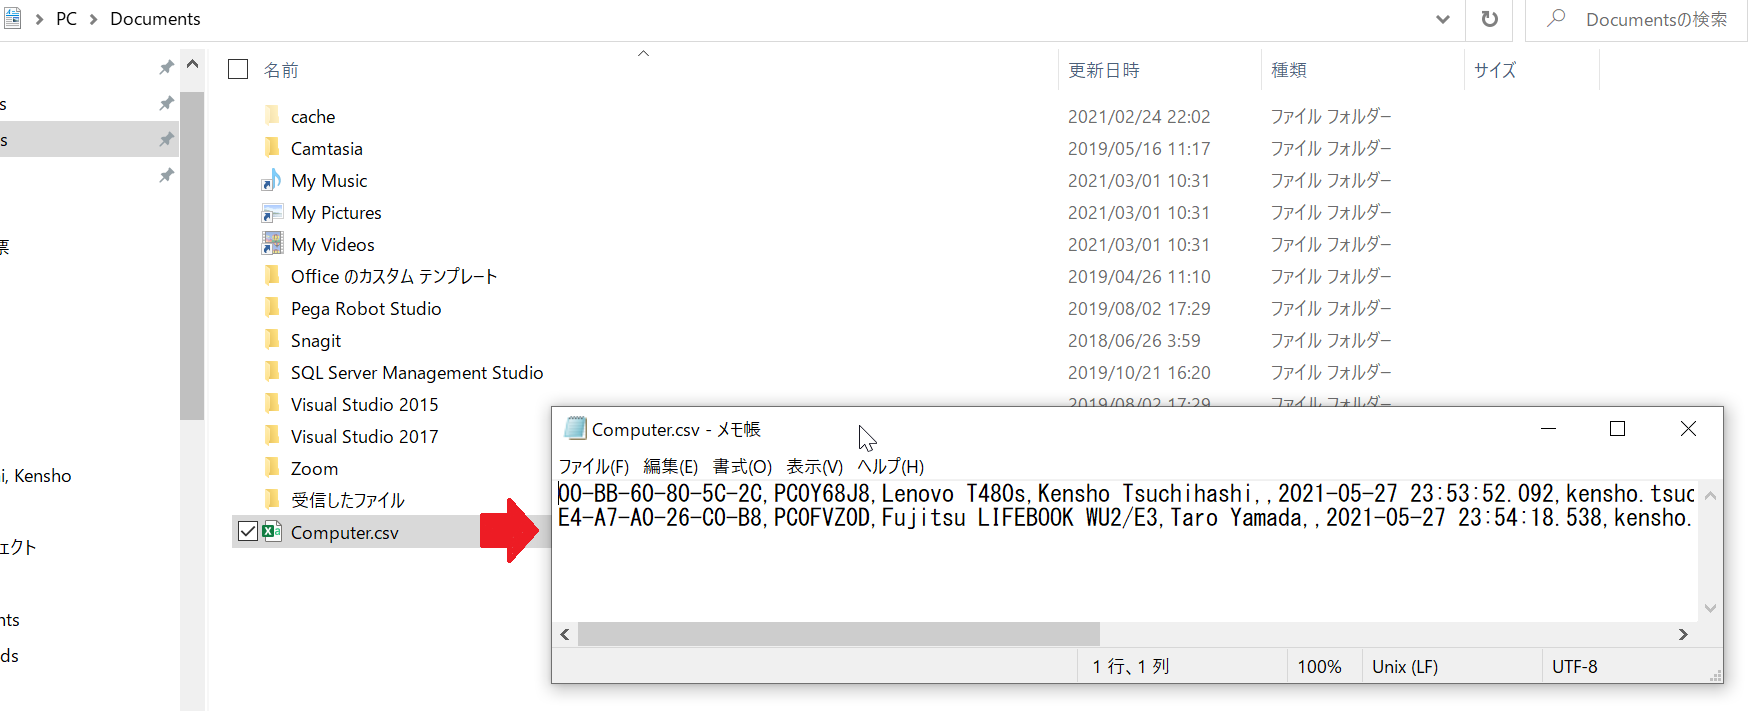
3. All records are exported into a CSV file.
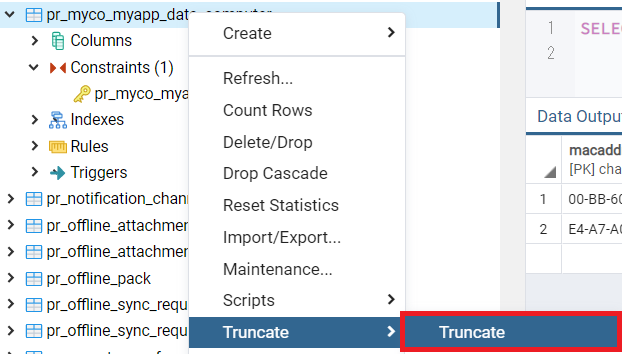
4. Truncate the table.
5. Open the class form from Dev Studio. The key field should be now editable because table has no records any more. Be noted that Class is a special type of rule instance, and there is no check in or check out concept here - even when RSV is locked, this rule is always savable like Data instance. Replace MacAddress with SerialNo and Save the changes.
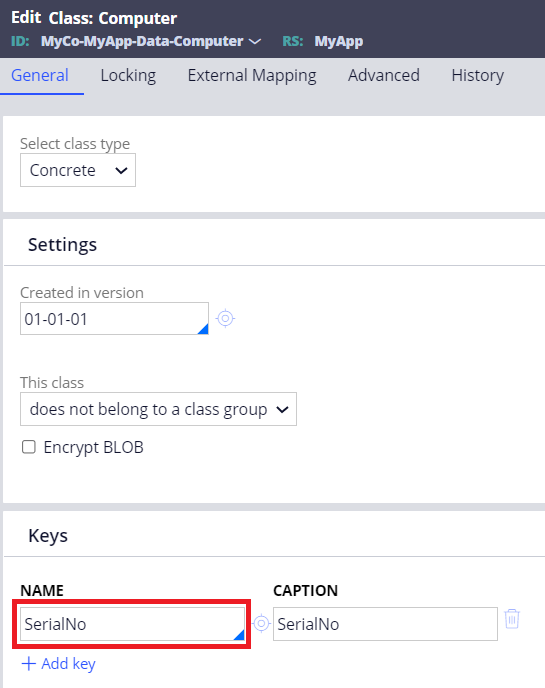
6. Per my experiment, this operation does not automatically incur Primary key change in the DBMS level. Try hitting "Test Connection" button in the class form, and you will find an error message saying, "There is a key mismatch: the keys defined for class MyCo-MyApp-Data-Computer do not match the primary key columns for external data table data.pr_myco_myapp_data_computer in database CustomerData; the class keys are [SerialNo], but the table's primary keys are [data.macaddress]" as below. This implies that key change is still an irregular operation and change has to be done manually from DBMS.

7. From DBMS, drop the current Primary key by DDL. You can also use pgAdmin tool to do so.
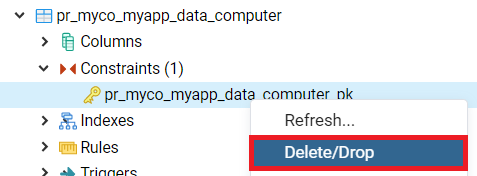
8. Recreate a Primary key.

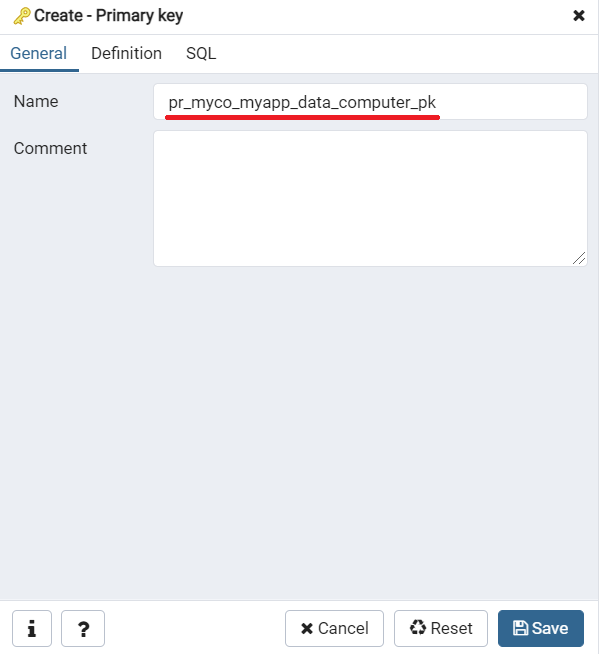
9. Name the Primary key. It can be the same name as the original one. In this example, "pr_myco_myapp_data_computer_pk".
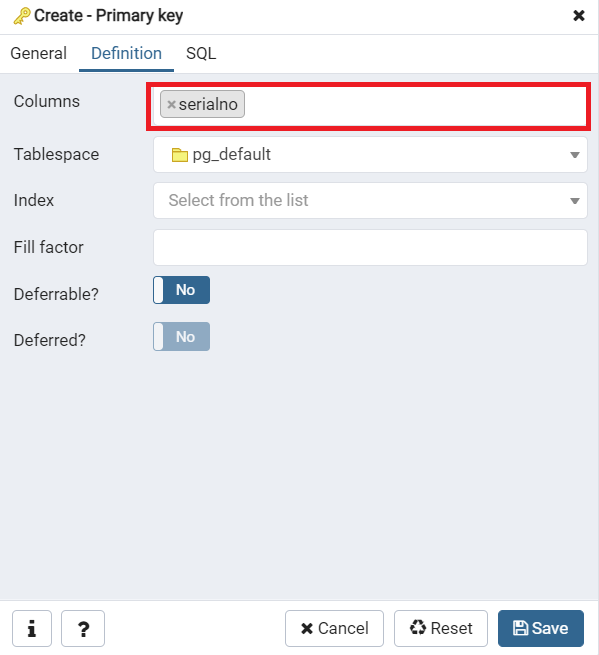
10. Specify serialno for Columns.
11. Make sure serialno is now Primary key in the DBMS.

12. Try "Test Connection" again and find the mismatch error message is now gone. This means key is SerialNo at both Pega level and DBMS level in sync.

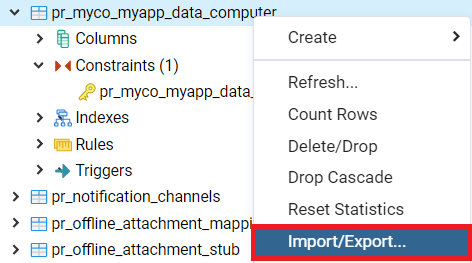
13. Final work left is to restore the backup records into the table. Select Import from pgAdmin tool.
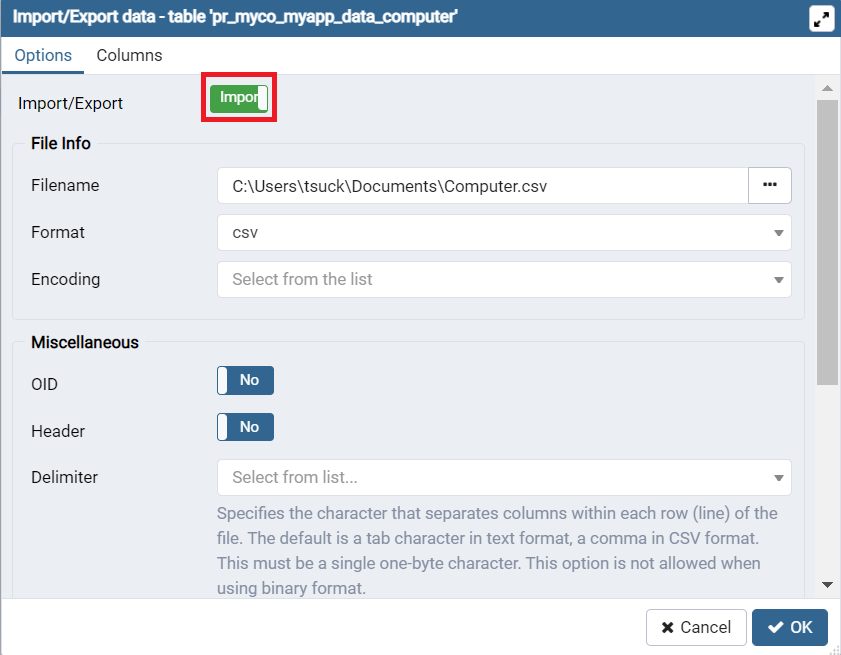
14. Switch to Import and specify the CSV file. Click OK.
15. Make sure all the records are restored.

This concludes my explanation. Hope this helps.
Thanks,
