Invoking Pega Mobile Client Custom Modules from the Pega Platform UI
Custom Modules are a Pega Mobile Client feature allowing custom native code to run in the context of a Pega application running inside the client. Custom modules can be used to integrate native libraries, add features, and address requirements for devices or Apple-iOS features that are specific to a user's use cases.
Note: This article covers the essentials of integrating a PMC Custom Module with a Pega application and assumes that the user already has basic iOS/Android knowledge.
Prerequisites Familiarize yourself with the basics of Custom Module development:
- Authoring Android Custom Modules for Pega Mobile Client
- Authoring iOS Custom Modules for Pega Mobile Client
- Create the custom module for your chosen mobile platform and ensure that you can successfully invoke the module API as follows:
window.pms.plugins.samplePlugin.sayHello("Developer").then(function(result) {
   console.log(result)
})
To invoke a Custom Module from the Pega Platform, perform the following actions:
- Add a data model for the data retrieved from the Custom Module.
- Configure a Control that invokes the Custom Module JS API and sets appropriate values in the model.
- Set up a section to include the newly created control, trigger the control code, and display the result.
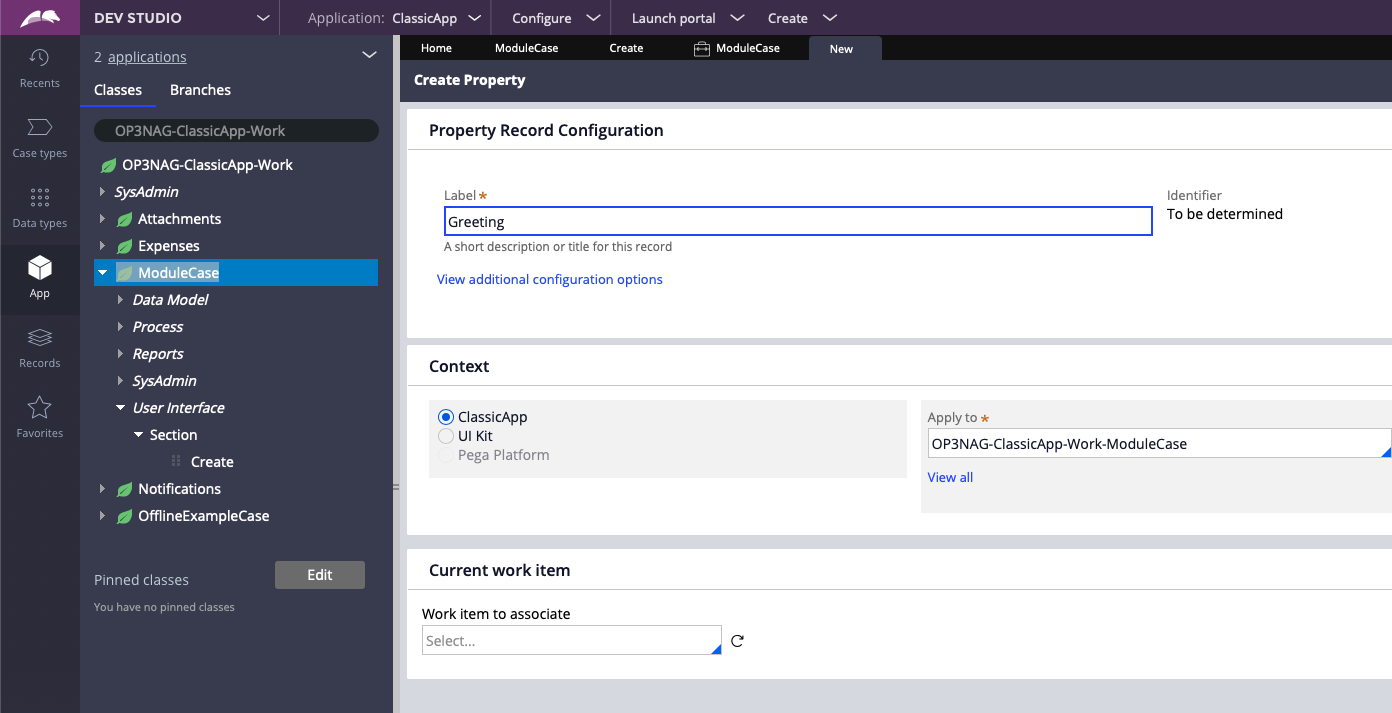
- In Dev Studio, create a new case type for the Custom Module that you want to use.
- Create a data object for the data that will be returned by the Custom Module and add it to the case. In this example it will be a simple Text Property called "Greeting".
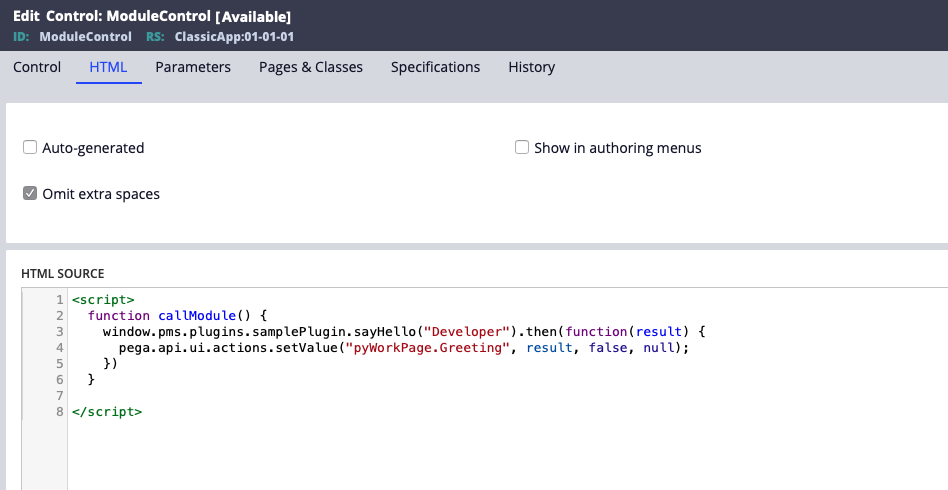
- Create a new Control that will provide the JS code required for invoking the Custom Module JavaScript API. This control will utilize the Pega UI API to set the values on the form.
Note: The Pega UI API setValue will only work if the target property has an editable input field on the screen. If you make the fields read-only, setValue will not work.
- On the HTML tab, disable the auto-generated mode and enter the following HTML source code:
<script>
  function callModule() {
    window.pms.plugins.samplePlugin.sayHello("Developer").then(function(result) {
      pega.api.ui.actions.setValue("pyWorkPage.Greeting", result, false, null);
    })
  }
</script>
Result: The system displays the control configuration as in the following figure:
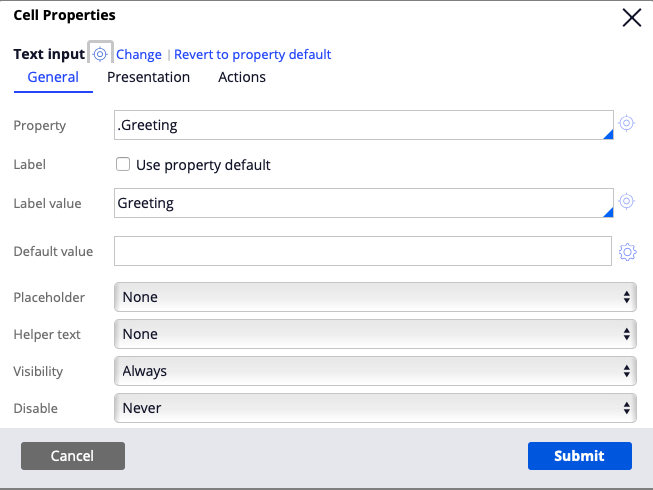
After saving your changes to the newly created Control, you must configure the section that will be using the Custom Module. Open the section and start by adding a field. This field will be an instance of the control that you created in step 3. Add the field by adding a simple Text Input and then changing it to the newly created control type. After you add the field, clear the Use property default check box and leave the Label value field empty, so that the field won't be visible.
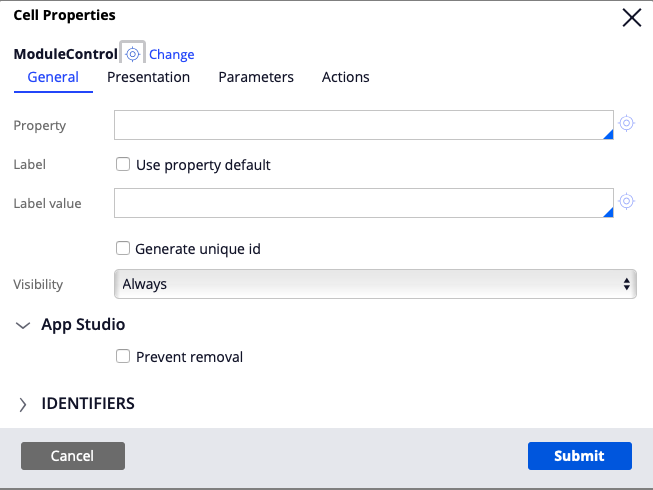
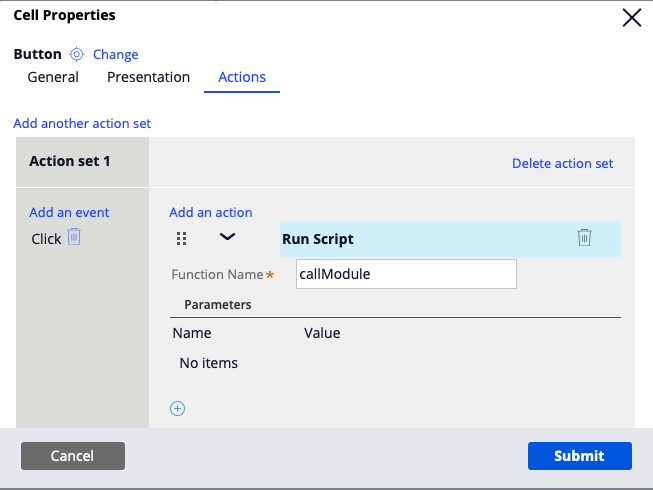
When you add the control, the JavaScript code that you wrote earlier becomes available. The next step is to add a button that will invoke the control. Set the Click action to run the script that you defined inside the control, as in the following figure:
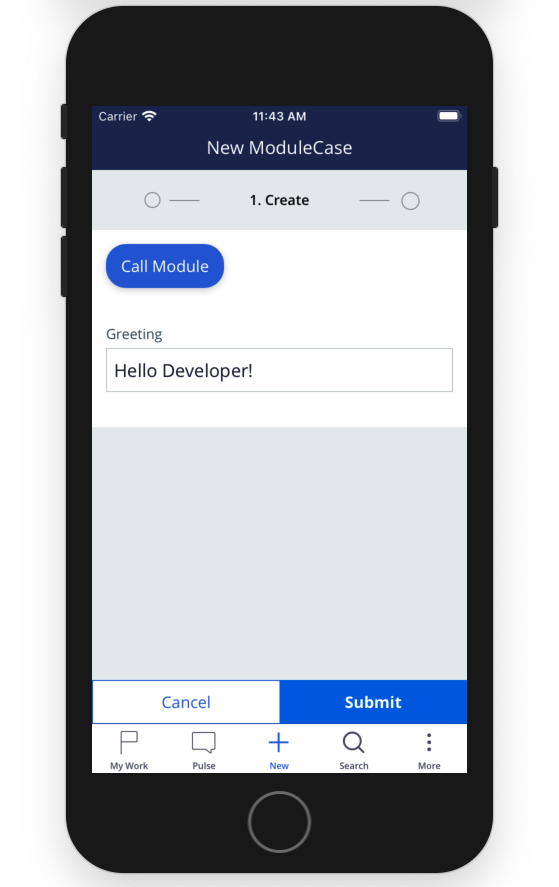
Finally, add a field that references the value of the property that will be modified by the Custom Module invocation., as in the following example:
You can now run the mobile application, and once the button is pressed the greeting message should be displayed in the Greeting text field.